Showing posts with label road trips. Show all posts

Thursday, June 2, 2011

#181: Road Trip to Joshua Tree


Itching with wanderlust, Brad and I headed out last Saturday on a mini desert road trip. After 2.5 hours, we found ourselves among the monolithic rock heaps of Joshua Tree. On our hiking itinerary: Wonderland Wash, Barker Dam and Wall Street Mill.

Wonderland Wash

Checking in at the visitor's center, I told the ranger that we were interested in hiking Wonderland Wash, a playground of animal shaped rocks that enchant the imagination. He gave a huge smile and said that the Wash is his favorite hike in Joshua Tree. He suggested that we buy a guide book for directions because the Wash is not a popular or advertised hike, but being the cheap-os that we are, we decided to just rely on our scanty internet directions. Wrong choice. Our first attempt at Wonderland got us going in a totally wrong directions. Undeterred, we went back the second day and found our way.

The Wash is a 2.1 mile out-and-back hike. Along it you get to see the gigantic Whale Flipper:

high five!
and the Astrodome:


The hike through the Wash is level and mostly unshaded. For most of the time you are walking in sandy gravel.


Directions to Wonderland Wash:

Start off at one of the two parking lots for Wall Street Mill. The first lot is a large paved one that is shared with Barker Dam. The second one is smaller and is accessed via a dirt road just past the paved lot. Go on the dirt road and take your first left when it forks. Keep an eye out for that fork because we missed it the first time--it's not too far! Parking at the second lot will make your hike shorter by .6 miles.

Next, follow the small sign pointing to the right towards Wall Street Mill. Very soon you will see a small unmarked dirt path to your left. Don't take that one--it will take you into the brush. Take the next one:

Take the one on the left!

Go down this path until you see the pink ruins of Wonderland Ranch:


To the left of Wonderland Ranch you will see this thing:
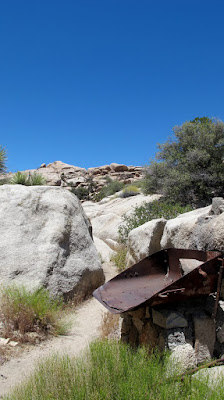
See the path on the left?

Take that path through the low boulders into the wash:


Go to the right. You will come across this rock wall in .3 miles. This was an old dam used by the cattle ranchers.


Go over the wall and keep following the path. On your right, you'll pass by the Whale Flipper.


Rock scramble up to see it from the other side. It's amazing (and much larger than it looks in this picture)!

The whale flipper turns into a claw on the other side

In another .3 mile, you'll spot the Astrodome:


Once you reach this point, you can turn back the way you came.

Barker Dam

The flat trail to Barker Dam is easy to find and follow. This popular hike is a 1.5 mile loop.


Wall Street Mill

We encountered a lot of people who got lost trying to get to Wall Street Mill. They actually ended up at the pink Wonderland Ranch house instead. The park service needs to put up more signs here because there are so many unmarked forks.


Remember that trail that we started off on to get to Wonderland Wash? Instead of taking the left fork, keep right and just keep going straight. This is an out and back hike that is 1.6 miles from the second parking lot (the dirt one). The trail is level and unshaded. You'll know you're heading in the right direction because you'll pass this windmill in .3 miles on the right:


Have you been to Joshua Tree? What did you think of it? Leave me a comment below!

Tuesday, April 12, 2011

#168: Road Trip to Bryce Canyon, Utah


Alright folks, get ready for the third installment of my Road Trip to Utah trilogy... Bryce Canyon. (And in case you missed them, here are the Slots and Zion).

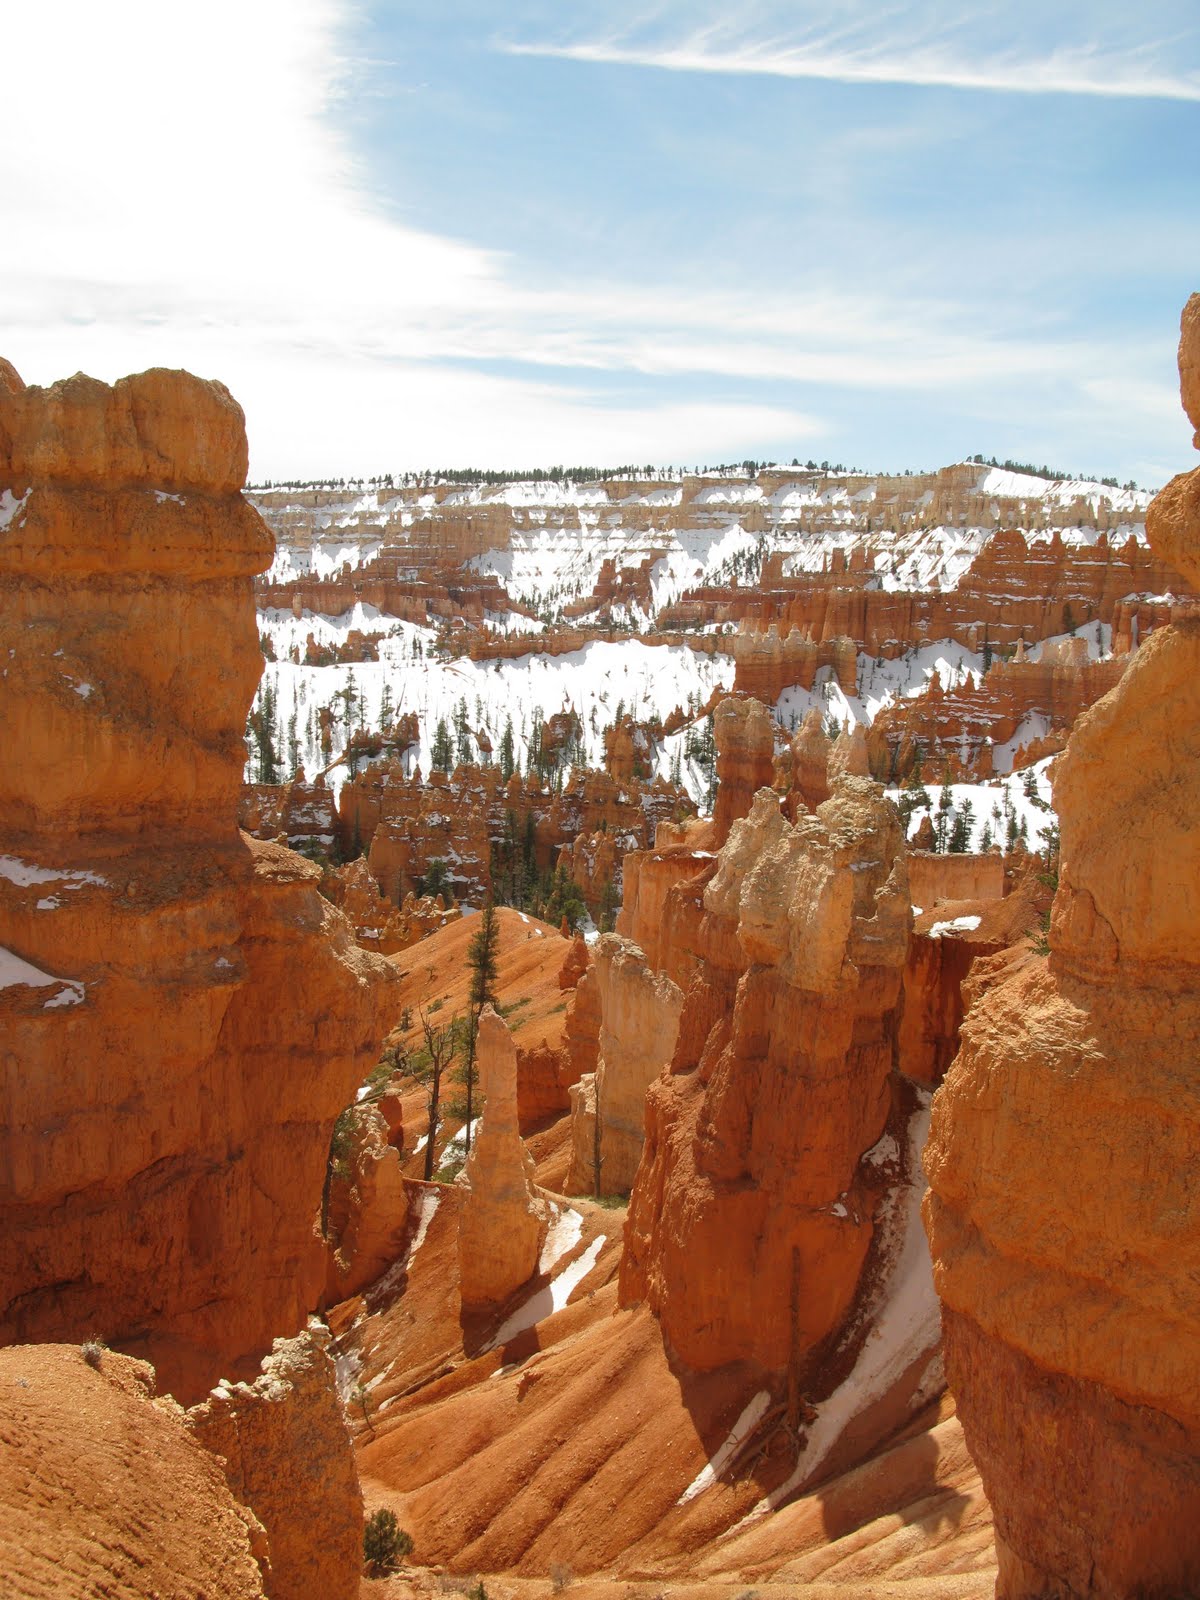
Seeing Bryce Canyon was one of the most breathtaking moments of my life. A lot of people just walk to the rim and take pictures, but to really experience Bryce Canyon, you have to walk down into it. The Queen's/Navajo Loop trail is the easiest way to get down there. It's a 3 mile hike that takes you through, around, and in between hoodoos of all shapes and sizes.

At the rim

The hike wasn't busy, probably because the trail was icy and muddy. Toward the middle of the hike, we went through a snow covered conifer forest. Taking a moment to pause, we rested on a toppled tree trunk. As the statuesque hoodoos peered down at us from all sides, I strained to hear something. Anything. It was pure silence, and it gave me the chills (in a good way).


For a shorter hike, check out the Mossy Cave/Waterfall hike. When we went, the mossy cave was more like an icy cave. Check it out in the pics below...


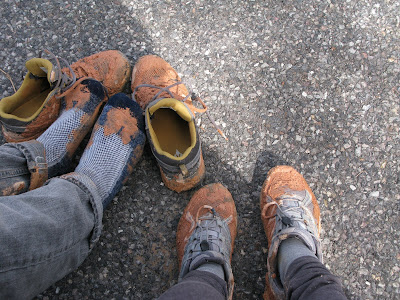
Brad's shoes toward the end of the hike
Finished the Queen's/Navajo Loop!
The Mossy Cave/Waterfall Hike
Slippery!
The Mossy Cave


Subscribe to 365 LA

Monday, April 11, 2011

#167: Road Trip to Zion, Utah


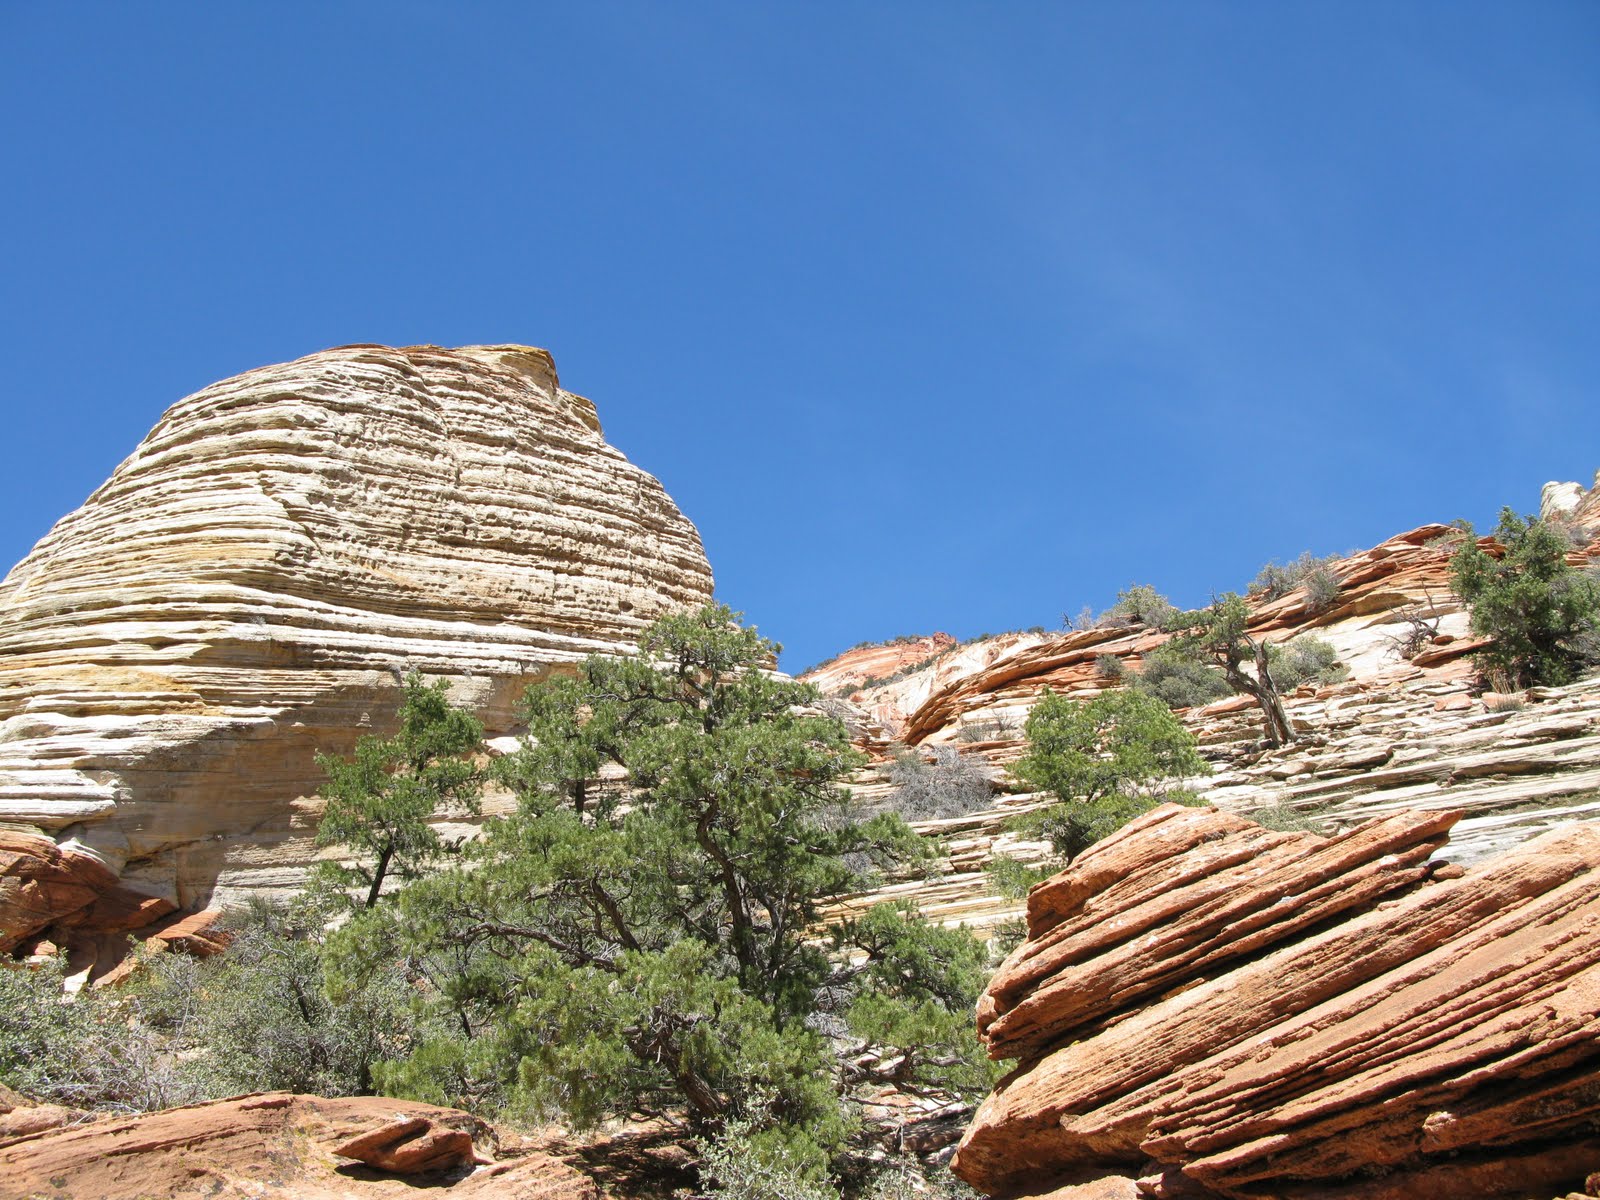
Canyon Overlook Trail


Utah seems like a world apart from L.A., but did you know that it's just a 7 hour road trip away? Spring is the perfect time to visit Utah because it's not too hot and the bugs aren't out yet. If the pictures in my last post inspired you to take your own Utah road trip, then it's your lucky day: here's an itinerary for your journey!

Day 1: Leave L.A. and drive 4.5 hours to Las Vegas. Spend the night in Vegas. There are hotels on Expedia and Orbitz for as little as $15 a day. OR do like we did and drive 7 hours to Zion in one day.

Day 2: Leave Las Vegas and drive 2.5 hours to Zion. Hike the Watchman Trail (3 miles, moderate) and Riverside Walk (2 miles, easy) and spend the night in Zion. Great places to eat: Whiptail Grill, Oscar's Cafe, Parallel 88. Our hotel cost about $130/night, but you can find cheaper places.

Day 3: In Zion, watch the visitor's center video, hike to the Upper Emerald Pool (3 miles, moderate) and do the Canyon Overlook Trail (1 mile, moderate). Grab lunch in Zion, then drive 2 hours to Bryce. Go star gazing in Bryce National Park, and spend the night. The Best Western Grand is a great place to stay in Bryce, and it's about $85/night.

Day 4: Watch the visitor's center video in Bryce Canyon National Park, then hike the Queen's/Navajo Loop trails (3 miles, moderate). Drive a short distance and hike the Mossy Cave/Waterfall trail (.8 miles, easy), then keep driving for 1 hour to Escalante. There are cheap motels and bed and breakfasts in Escalante. Spend the night.

Day 5: Rent a jeep from Escalante Jeep Rentals if you don't have a high clearance vehicle. (This is expensive... over $200/day. Call in advance to reserve.) Then head about an hour east to explore Spooky and Peekaboo Gulches (the slot canyons) and Devil's Garden. Spend the night in Escalante.

Day 6-7: Drive back toward Zion (3 hours), stopping in Red Canyon for a short hike or pictures. Then spend the night in Zion, or you can keep going to Las Vegas (3 more hours of driving) and spend the night there. Head back to L.A..

Here are more pictures of Zion...


Riverside Walk

Watchman Trail


Watchman Trail

There are lots of little shops selling rocks and glass just outside of Zion National Park

Our hotel in Zion


Subscribe to 365 LA

Tuesday, April 5, 2011

#166: Road Trip to Escalante, Utah


Utah was always in the back of my mind as a possible road trip destination ever since I saw the incredible film 127 Hours. When I stumbled upon this blog post on Go Explore Nature and saw the other-worldly pictures of hoodoos and arches carved out of red rock, I knew that I had to go. And thus began Honeymoon #3: 7 days, 10 hikes and 1300 miles of driving. It was--in Brad's words--"Utah-some". Check out the video above for highlights from our trip.

After driving for 7 hours from L.A., we spent the night in Zion and then drove another 3.5 hours to the little town of Escalante. The next day we rented an overpriced jeep, drove about an hour down the unpaved Hole in the Rock Road, and explored Spooky Gulch, Peekaboo Gulch, and Devil's Garden. The experience was magical. I miss Utah already.

I'll let the pictures do the rest of the talking...

A high clearance vehicle is recommended to get to the Dry Fork trailhead,
where Spooky and Peekaboo are located
Hiking down to the slot canyons

At the Peekaboo entrance. To get in, you have to climb the 25 foot wall.

Then you have to cross a pool of muddy water. I took off my shoes,
but Brad did it with shoes and didn't get his feet wet. Magic!

There are some tough spots where I had to get a boost from Brad.

There is supposedly a "trail" connecting Peekaboo and Spooky, but we lost it and ended up just going back the way we came (which is recommended by the park service)

Spooky Gulch
Spooky Gulch is much narrower, but easier to do than Peekaboo.
Good thing Brad's skinny!

When you're walking from the entrance of Peekaboo to the entrance of Spooky, you will see this sand dune on your left. Turn left here and keep walking until you see the entrance to Spooky on your right.
The end of Spooky where we turned back.
There's not much of a trail here, so follow the rocks
Devil's Garden. Doesn't this look like a rabbit?
Devil's Garden is an easy walk for all ages. It's not so much a hike as it is a playground full of rocks that you can climb and run around. I love this place.